Build & Display: Vintage Car 3D Wooden Puzzle Kit
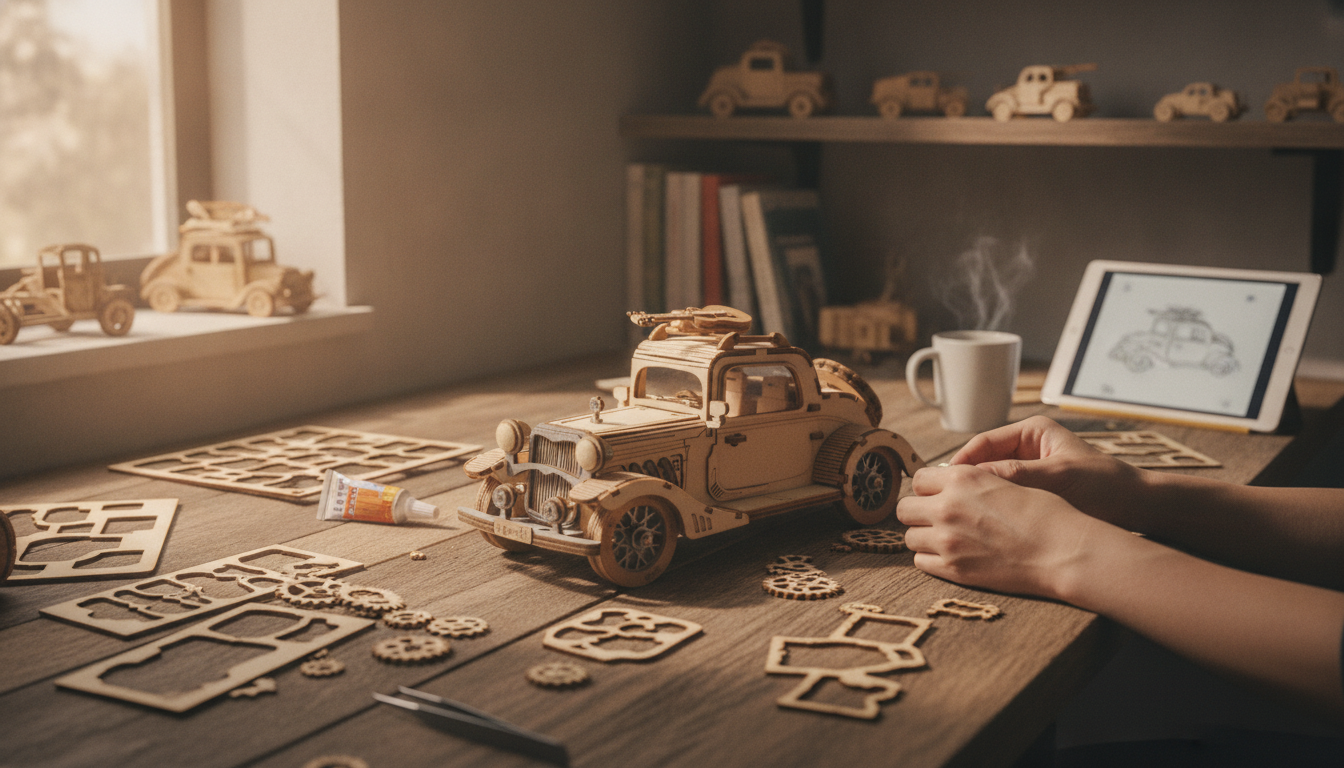
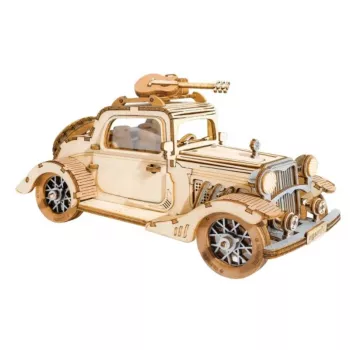
Vintage Car 3D Wooden Puzzle Kit: A Classic Build You’ll Want to Display
A classic-model car that comes together piece by piece, the Vintage Car 3D Wooden Puzzle Kit is a hands-on project that’s as enjoyable to assemble as it is to show off once finished. It’s a satisfying option for hobby time, family projects, or gifting—especially for anyone who likes a screen-free activity with a clear “before and after” payoff. Most builders can get great results without paint or complicated tools, and if you do decide to customize, the natural wood surface is a friendly starting point.
What makes this vintage car build special
- It’s a puzzle that becomes decor: The 3D wooden model format creates a finished object you can display, not something that disappears back into the box after completion.
- Classic styling with shelf appeal: Vintage car design brings a timeless look that fits in on desks, bookcases, and hobby displays.
- A rewarding learning curve: It strikes a comfortable balance of focus and creativity for puzzle fans and model-building beginners.
- A screen-free activity that feels “special”: Ideal for weekends, holiday downtime, or gift exchanges when you want an experience, not just an item.
Quick details at a glance
Use this snapshot to compare expectations before starting the build. For any missing specs (like piece count), check the product page for the most up-to-date listing details.
| Detail | Info |
|---|---|
| Product | Vintage Car 3D Wooden Puzzle Kit |
| Price | 13.51 USD |
| Availability | In stock |
| Stock (listed) | 997 |
| Model type | 3D wooden puzzle/model kit |
| Difficulty | Not specified (varies by builder experience) |
| Recommended age | Not specified (adult supervision recommended for kids) |
| Tools required | Not specified (basic hobby tools may help) |
| Finish options | Leave natural wood or customize (paint/varnish optional) |
Before you start: setup and basic tools
A smooth build experience usually comes down to small setup choices. A little prep helps protect delicate pieces and keeps the project relaxing.
- Pick the right spot: Use a flat, well-lit workspace. A tray or shallow box helps keep pieces from wandering.
- Plan for tight tabs: A small sanding sponge or emery board can smooth snug joints. Avoid forcing parts together—wood can split if pressured.
- Use glue thoughtfully: Keep a toothpick or cotton swab ready to apply tiny amounts if reinforcement helps. If the kit is press-fit, glue only where it truly improves stability.
- Dry-fit before committing: Test alignment first, then finalize. This reduces misalignment and keeps the finished car looking clean and symmetrical.
- Take breaks on longer sessions: Rushing increases the odds of snapping thin elements or mixing up similarly shaped parts.
Building experience: what to expect step by step
This style of kit is enjoyable because it feels structured without being repetitive. The trick is staying organized and checking alignment often.
- Sort first, build faster: Separate pieces by size or shape before assembling. It cuts down on mid-build searching and prevents avoidable mistakes.
- Start with the main structure: Assemble the core body sections first, then move on to details like wheels, trim, and any roof/hood elements included.
- Check symmetry as you go: Wheels and axles (if present) tend to align best when you build both sides evenly rather than completing one side fully first.
- If something resists, pause: Re-check orientation and instruction order instead of applying pressure. With wood kits, resistance often means “wrong angle” rather than “needs force.”
- Customize after a successful dry assembly: If you plan to stain or paint, consider doing it after you’ve confirmed everything fits. That way, you’re not sanding away fresh finish to correct a joint.
For builders who enjoy the nostalgia of classic autos, it’s fun to pair the build with a little history. The Smithsonian’s overview of automobile history is a great backdrop for appreciating how iconic silhouettes evolved over time.
Display ideas and light customization
Once completed, this model looks best when it’s treated like a small display piece rather than a toy. A few easy finishing touches can make it feel “museum-ready.”
If you enjoy keeping small hobby accessories tidy—like sanding pads, toothpicks, or craft clips—consider storing them in a dedicated container such as the Vintage Embossed Glass Storage Jar with Airtight Seal – 23.7 oz. It’s an easy way to keep a “mini build station” organized between sessions.
Gifting and occasions
Care, storage, and safety notes
- Protect it from moisture and sun: Keep assembled models away from high humidity and direct sunlight to reduce warping and fading.
- Dust gently: Use a soft brush or microfiber cloth. Avoid soaking wood with water or household cleaners.
- Small parts warning: Pieces may present a choking hazard—keep away from very young children and pets. For more guidance, see the CPSC overview of Small Parts Regulations.
- Use finishes safely: If using glue, paint, or varnish, follow label directions and provide ventilation.
FAQ
Does the kit require glue?
Many wooden model kits are designed for press-fit assembly, but glue can help reinforce stress points. Dry-fit first, then glue only if joints feel loose or if the instructions call for it.
Is this suitable for kids?
It depends on age, patience, and comfort with small parts. Adult supervision is recommended, and the kit may not be appropriate for very young children due to choking hazards.
How long does it take to build?
Build time varies by experience and the complexity of the specific kit. A relaxed build can often fit into a single evening, while more careful pacing may take a couple of sessions.







Leave a comment